Key Takeaways
- Layered shirts on Roblox are 3D garments that wrap around any avatar body type, stack over other items, and move with physics, replacing flat 2D templates.
- Traditional creation uses Blender, manual cage setup, and polycount management, which slows down your creative process.
- This guide walks you through creating upload-ready layered shirts entirely in your browser without Blender or extra tools, ending with a working FBX file.
- The workflow covers generating designs, managing polycount, one-click rigging and caging, previewing across avatars, and exporting for Roblox Studio.
- Join Nilo’s open beta to start building and playing for free.
What You Need Before You Start
This guide is for aspiring Roblox builders or already builders like you who have basic Roblox Studio knowledge. You should know how to open Studio, import an asset, and move around the workspace. You do not need Blender experience. You also do not need to know what weight painting means. If you have uploaded a classic shirt or accessory before, you are ready.
You need a free Nilo account and a Roblox account with UGC upload permissions enabled.
Step 1: Craft Your 3D Shirt Design in the Browser
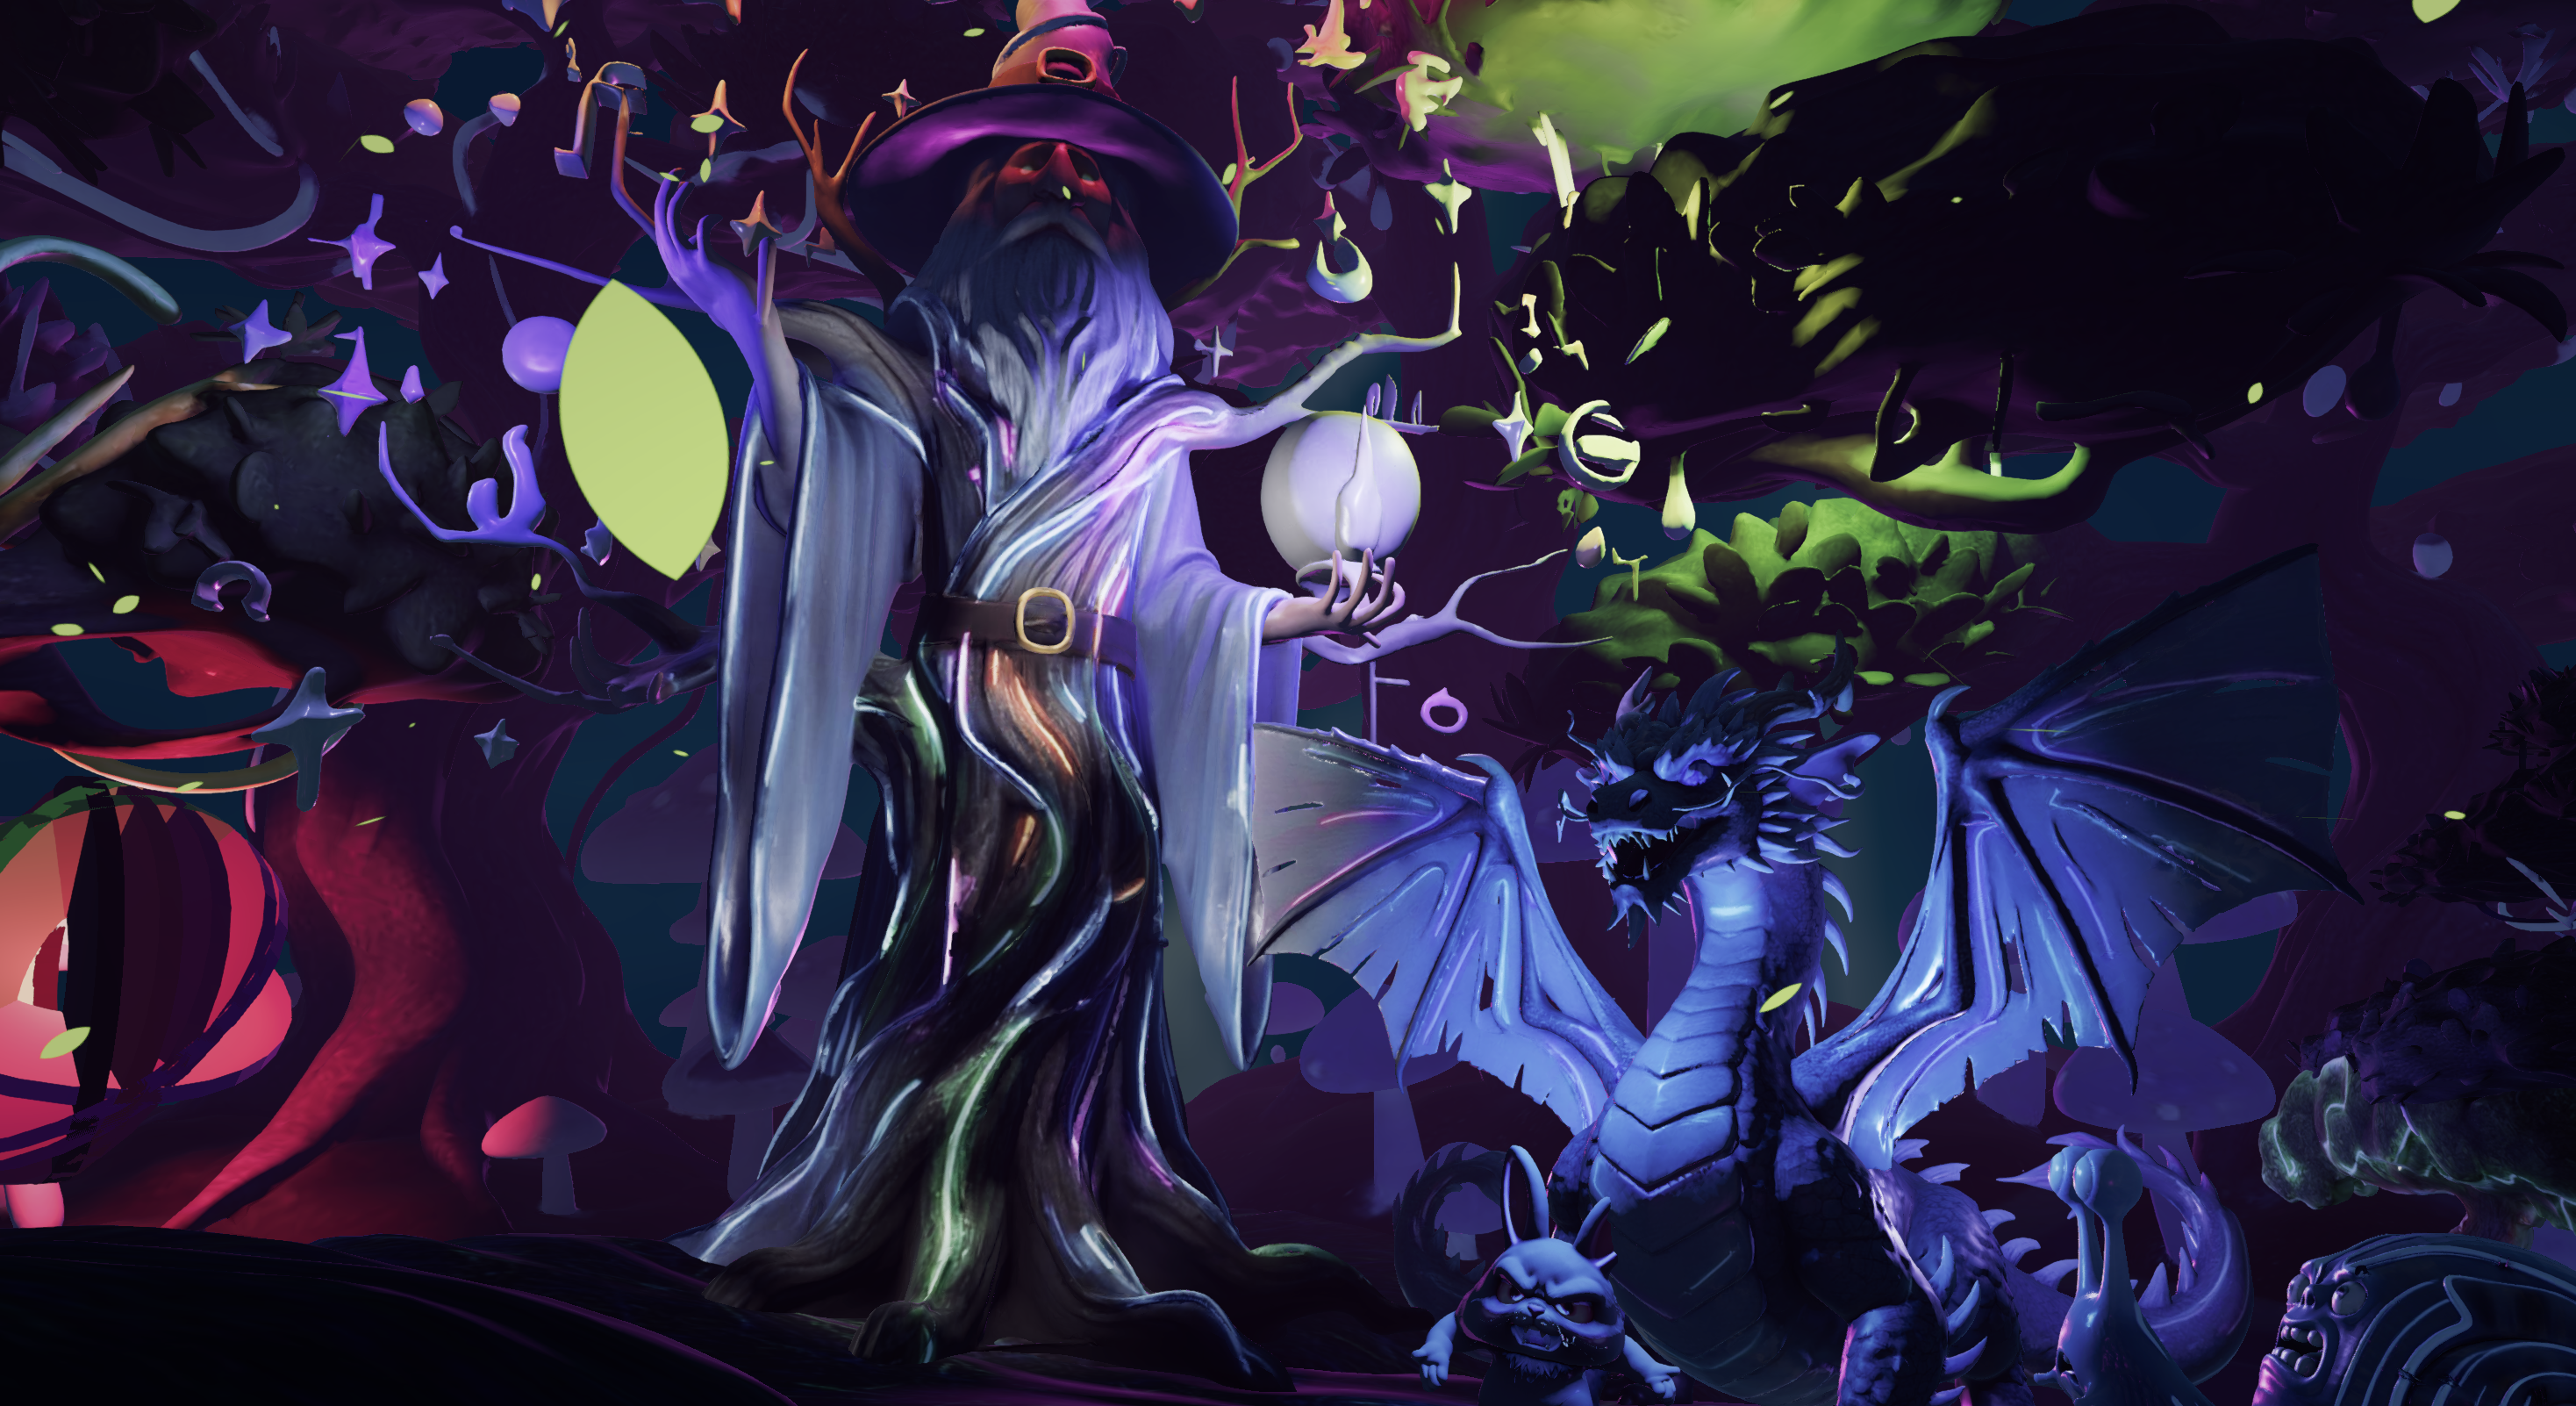
Open Nilo in your browser, with no download required. Use the Craft Your Model feature to generate your shirt. Type a text prompt like “oversized streetwear hoodie with distressed texture,” upload a reference image, or sketch directly in the 2D canvas. Nilo’s AI turns that idea into a 3D model for you.
Nilo’s model-agnostic AI layer pulls from multiple generation providers, including Meshy and Tripo, behind one interface so you do not have to switch tools. Nilo enables generation of 3D characters and props in seconds via sketching or prompting. If the first result does not feel right, change the prompt, tweak colors, or try a different style direction before you commit. Once you like the design, you can move on to checking Roblox’s technical limits.
Step 2: Keep Polycount Within Roblox Limits
Roblox enforces strict performance limits. Layered clothing assets must follow Roblox requirements for triangle counts and texture resolutions. Triangles are the individual faces that make up a 3D mesh. If your shirt has too many triangles, Roblox can reject the upload or cause performance problems in-game.
In Nilo’s Optimize, Rig & Animate panel, drag the LOD (level of detail) slider to simplify the mesh. This control reduces triangle count while keeping the shirt’s silhouette readable. As you move the slider, watch the triangle counter drop in real time so you see how close you are to Roblox’s limits. Keep adjusting until you reach a triangle count that balances visual quality with Roblox performance guidelines. Nilo optimizes polycount so models work directly in Roblox Studio without extra steps. You skip manual retopology, which is the slow process of rebuilding a mesh with cleaner, lower-count geometry.
Step 3: Rig and Add a Cage with One Click
Rigging adds a skeleton to your 3D mesh so it can move with an avatar’s body. Roblox layered clothing also needs a cage mesh, which is a second outer mesh that defines how the garment wraps, deforms, and stacks over other items. Manual rigging and cage setup in Blender can take more than 30 minutes for a single asset.
In Nilo, press the single-click rig button inside Optimize, Rig & Animate. Nilo handles rigging and cage generation automatically and produces a structure that works with Roblox’s avatar system. Roblox’s Avatar Auto Setup tool in Studio can also auto-generate rigging and caging when a mannequin body is included. That workflow still expects you to bring in a clean, optimized mesh. Nilo helps you arrive at Studio with geometry that is already prepared.
Step 4: Playtest Your Shirt on Different Avatars
Before exporting, use Playtest with Friends to preview the shirt on an avatar inside your Nilo world. Look for clipping, where the shirt mesh passes through the avatar body, and confirm that the silhouette looks how you expect. Layered clothing with bulky outer cages is prone to compression and clipping issues, so catching these problems now saves time later.
Invite a friend with a shared link and preview the shirt on a different avatar body type in real time. This quick check helps you avoid surprises once you move into Roblox Studio.
Step 5: Export an FBX Ready for Roblox Studio
Open Export and Upload. Choose your preferred format. Roblox accepts .fbx or .gltf formats for layered clothing uploads. Confirm your texture follows Roblox’s recommended resolution guidelines so the file stays lightweight.
Click export. The file downloads to your device with textures embedded and settings tuned for Studio import. You now have an upload-ready FBX or glTF file.
Step 6: Import and Test Your Shirt in Roblox Studio
In Roblox Studio, go to File > Import 3D and select your FBX. Check that textures appear correctly in the preview window before you continue. Open the Accessory Fitting Tool under the Avatar tab, set the accessory type to the correct layered clothing category, and adjust attachment points.
Test the fit across different avatar body shapes. Test on multiple stacked layers to detect clipping or floating elements before you publish to the Marketplace. This step helps you catch issues that only show up when players combine several items.
Blender Workflow vs Nilo’s Browser Workflow
| Step | Traditional Blender Route | Browser-Based Route (Nilo) | Key Difference |
|---|---|---|---|
| Asset Generation | Manual modeling or AI tool (e.g., Meshy) with messy output | Text, image, or sketch prompt in Craft Your Model | No external tool needed |
| Retopology | Manual cleanup in Blender, 30+ min per asset | Real-time LOD slider, automatic | Removes manual retopology work |
| Rigging & Cage | Manual weight painting and cage mesh setup in Blender | One-click rig and cage in Optimize, Rig & Animate | Minutes instead of hours |
| Export | FBX export from Blender with manual texture embedding settings | One-click FBX export with textures embedded | No export configuration needed |
Nilo stands out for its end-to-end workflow, where generation, optimization, rigging, and export all happen inside one browser tab. Tools like Sloyd and Lemonade.gg cover parts of the asset pipeline, such as generation or basic editing, but they do not handle the full path from idea to Roblox-ready export in a single place. The Meshy → Blender → Roblox Studio chain still works well for advanced creators who want very fine control, but it means learning several professional tools separately.
Fixing Common Layered Shirt Problems
Clipping through the avatar body: Your cage mesh is likely too tight. Re-run the one-click rig in Nilo and check that the outer cage has enough clearance. Remove or reorder hidden underlying layers with asymmetrical or bulky outer cages as your first fix.
Broken arm deformation: This usually means the rig bones did not bind correctly to the sleeve geometry. Re-rig in Nilo and preview arm movement before you export again.
Wrong origin point: If the shirt appears offset from the avatar in Studio, the mesh origin, which is the anchor point Roblox uses to position the asset, is misaligned. Re-export from Nilo and confirm the model is centered at world origin before you download.
Polycount rejection: Roblox has guidelines for maximum triangle counts on layered clothing to keep performance stable. Pull the LOD slider further in Nilo until the counter shows an acceptable number, then export again.
Checklist: How To Know Your Shirt Is Ready
Use these checkpoints to confirm your layered shirt is ready:
- FBX imports into Roblox Studio with textures visible in the preview window
- Triangle count stays under 4,000 and texture resolution is 1024×1024 or lower
- Accessory Fitting Tool shows correct attachment points with no visible clipping on at least three different avatar body types
- No frame rate drops when the shirt is worn during a Studio playtest on a mobile-spec device
- Asset passes Roblox’s moderation review on the first submission
Join Nilo’s open beta and try building and playing for free.
Scale Up: From One Shirt to a Full Clothing Line
The Roblox marketplace sees a high volume of avatar item purchases, so shipping a single shirt is only the beginning. Once your first design passes all checkpoints, you can use Nilo’s Create Asset Packs feature to build a full clothing line from a single reference image. You choose which parts of the image turn into separate 3D assets.
You can then iterate on colorways, texture variants, and silhouette changes without rebuilding every item from scratch. Builders in the Nilo community, which has more than 9,000 members on Discord, share workflows and showcase finished packs. You can learn from what others are shipping and get feedback before you publish.
Frequently Asked Questions
Do I need any 3D modeling experience to create layered shirts with Nilo?
No. Nilo is built so you can describe your shirt with a text prompt, a sketch, or a reference image and get a 3D model back in seconds. The platform handles rigging, which adds a skeleton so the shirt moves with the avatar, cage generation, which is the invisible mesh that controls how the garment wraps, and polycount management automatically. If you can upload a classic Roblox shirt, you have enough experience to follow this workflow.
What file format does Roblox require for layered clothing, and does Nilo export it?
Roblox allows layered clothing to be uploaded as FBX or GLTF files, with textures supporting resolutions up to 4096×4096 pixels. Nilo’s Export and Upload feature exports directly to these formats with textures embedded, so the file is ready to import into Roblox Studio without extra configuration. Nilo also exports OBJ, STL, and glTF if you want to use the asset in Unity, Unreal Engine, or Blender.
Why does my layered shirt clip through the avatar body after import?
Clipping happens when the cage mesh, which is the outer mesh that tells Roblox how the garment deforms, sits too close to the avatar geometry. The fix is to re-rig in Nilo with more cage clearance, then export again. Also check whether you have multiple stacked clothing layers active during testing. Hidden underlying layers with bulky cages can push visible garments out of position. Test on at least three different avatar body types in Roblox Studio’s Accessory Fitting Tool before you publish.
How many triangles can a Roblox layered shirt have?
Roblox has guidelines for triangle counts on layered clothing to keep games running smoothly. Exceeding these limits can cause upload failures or frame rate drops. Use the LOD slider mentioned in Step 2 to bring your count within an acceptable range. The tool shows you the triangle count in real time as you adjust.
Can I sell layered shirts I make in Nilo on the Roblox Marketplace?
Yes. Any asset you create in Nilo is yours to publish and monetize. Once your FBX passes Roblox’s moderation review and is configured correctly in the Accessory Fitting Tool, you can list it on the Roblox Marketplace. Roblox’s creator economy pays out over $1 billion annually to developers and designers, and avatar item demand continues to grow, which makes layered clothing one of the more commercially active asset categories on the platform.
Conclusion: Build Layered Shirts Without Blender Headaches
Creating Roblox layered shirts no longer has to mean wrestling with Blender, manual cage setup, or polycount anxiety. Nilo’s browser-based workflow, which covers generation, optimization, rigging, and export, gets you from idea to upload-ready FBX without leaving your browser tab. As one builder said in Nilo’s February 2026 survey, “There are no limits on what you can create, just type, draw or add in an image and you can generate, rig, customise and place a fully 3D model within minutes.”
Join Nilo’s open beta and try building and playing for free.