Written by: Nuno Leiria, Founder & CEO @ Nilo
Key Takeaways
- Roblox’s 20,000-triangle limit and strict rigging rules make custom avatar creation tough without Blender or Studio.
- Browser-based AI tools now let you generate, rig, and export game-ready avatars without installing anything.
- This five-step workflow covers choosing a method, generating a base mesh, adding accessories, managing polycount, and exporting in .rbxmx or FBX.
- Real-time LOD sliders and one-click rigging keep models within Roblox limits and ready for Studio import in minutes.
- Join Nilo’s open beta to build and export custom Roblox avatars directly in your browser.
5-Step Overview: How to Create a Roblox Avatar Online
- Choose your starting method, such as Avatar Editor, Catalog Avatar Creator, or an AI-powered online generator.
- Generate or customize the base avatar so the mesh matches Roblox’s R15 rig proportions.
- Add accessories or attachments like hair, wings, or armor at the correct attachment points.
- Optimize polycount and topology so your mesh stays within Roblox limits and looks clean.
- Export in a Roblox-compatible format such as .rbxmx or .fbx that Roblox Studio can import.
The sections below walk you through each step with clear inputs, checkpoints, and fixes for common problems.
Step 1: Pick How You Want to Start Building
You can start from three main places, each with a different balance of speed and control.
Roblox Avatar Editor lives inside the Roblox website and app. It feels fast, free, and needs no technical skills. You stay limited to catalog items though, so you cannot bring in your own 3D shapes.
Catalog Avatar Creator lets you try any Marketplace item before spending Robux. You can plan a full outfit and avoid buying pieces that clash. You still cannot add custom 3D models.
AI-powered online generators such as Nilo, Meshy, and Sloyd let you create original geometry from a text prompt or image, then export a game-ready file. Each tool handles the workflow differently. Some need extra steps in Roblox Studio, while others handle rigging and cleanup in your browser. This path takes more steps than Avatar Editor but gives you a character nobody else has.

Checkpoint: Choose an AI generator if you want a unique avatar that still respects Roblox’s limits. Use Avatar Editor when you just want a quick outfit.
Step 2: Build a Base Avatar That Fits Roblox R15
AI generators create a mesh, which is the 3D geometry that forms your character’s body. That mesh needs to match Roblox’s R15 rig, which is a skeleton of 15 body parts, and stay within Roblox’s triangle limits before you bring it into Studio.
Roblox’s Avatar Auto Setup inside Studio can rig and segment a mesh and cuts a process that used to take days down to minutes. It still runs only in Roblox Studio on desktop, so it does not fit a browser-only flow.
Browser tools handle this in different ways. Sloyd gives you optimized base models for Roblox avatars and lets you adjust the look with AI. Meshy can generate original geometry from a text prompt or photo, so you get a fully custom shape, then you finish full R15 rigging in Studio.
Nilo stands out here because it handles generation, retopology (cleaning and simplifying the triangle structure), and rigging in one browser tab. Nilo also manages polycount so models work directly in Roblox Studio without extra cleanup. You describe your character, generate it, and the platform keeps the mesh Roblox-ready for you.

Checkpoint: Keep your base mesh in a T-pose with arms straight out and the body upright. This pose gives you smoother animation after rigging.
Step 3: Add Accessories and Attachments for Personality
With your base avatar ready, you can start adding personality through accessories. Accessories are separate meshes such as hair, wings, armor, weapons, or props that attach to specific points on your character’s body called attachment points.
In Roblox, each body part has named attachment points, like HairAttachment on the Head or LeftHandAttachment on the LeftHand. Accessories snap to these points.
In Nilo, you attach 3D objects to a character using the Attachments panel or the Gizmo tool. Objects snap to the character’s attachment points, and you then nudge them into the exact position you want. The whole character, including body and attachments, exports together in one click as an .rbxmx file. That format packs textures and attachments into a single file.
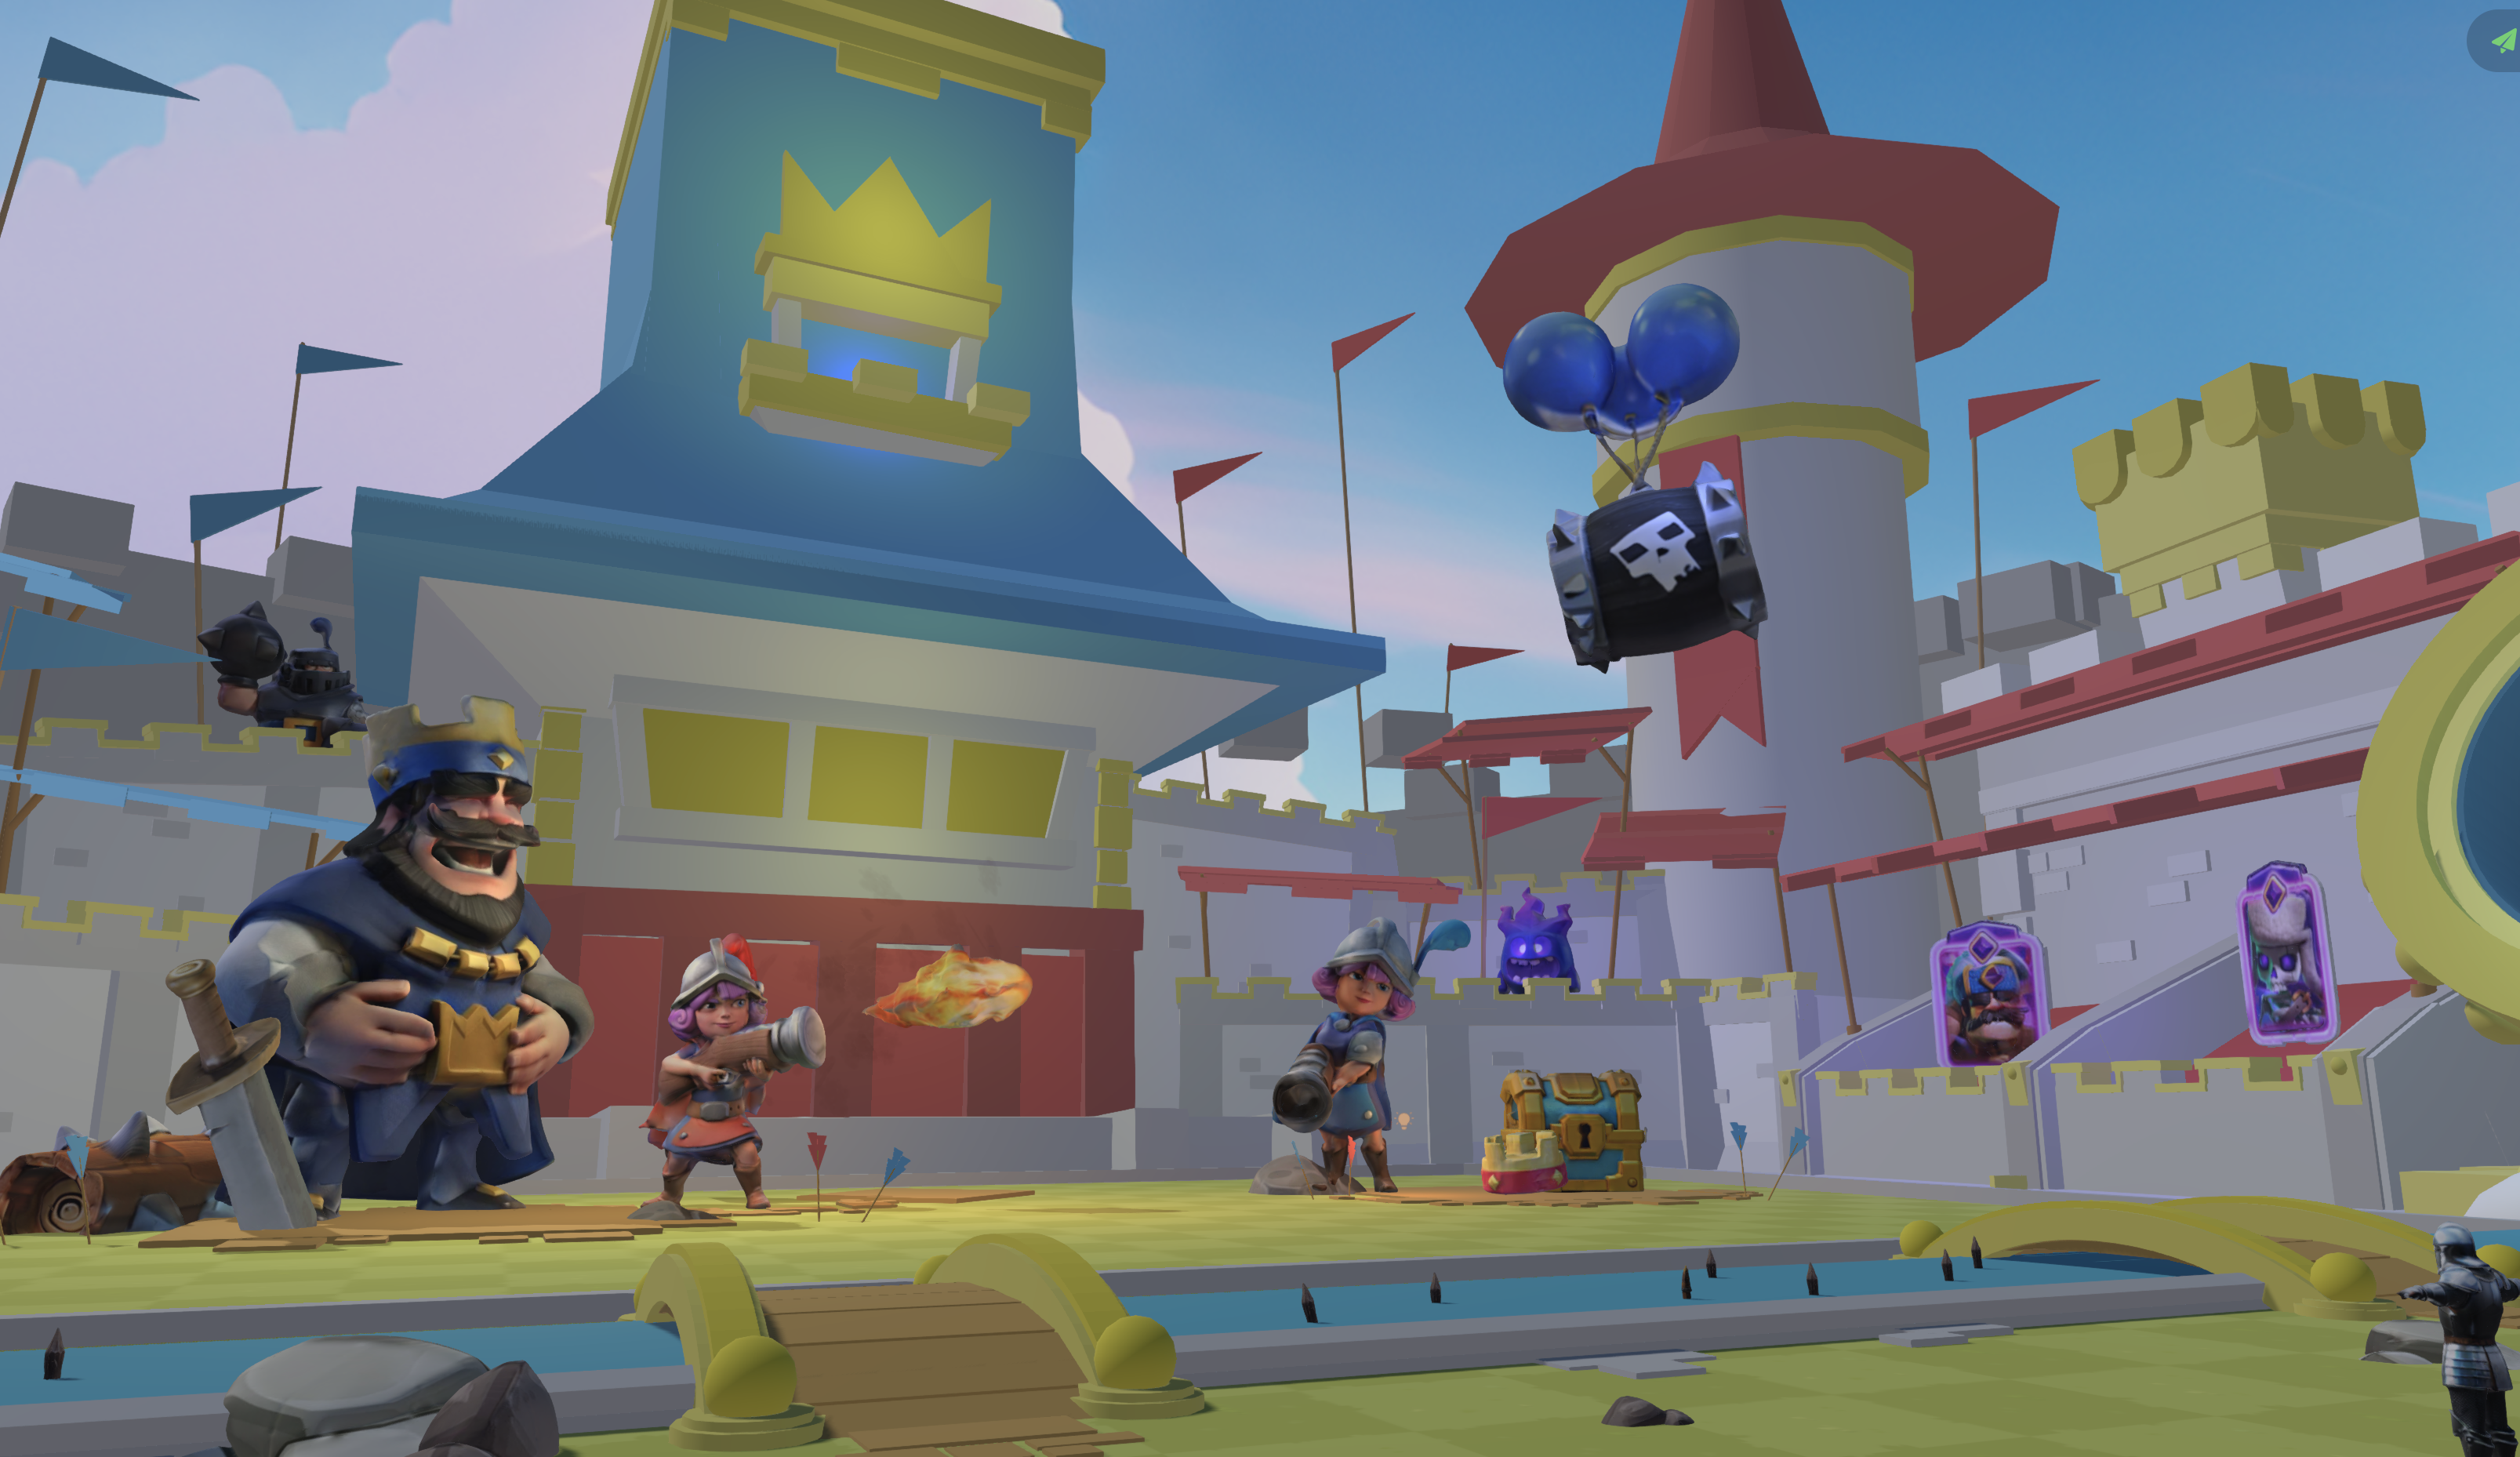
Attachments in Nilo cover rigid accessories that snap to a character. You still set up 3D layered clothing that wraps and deforms with movement inside Roblox Studio after export.
Checkpoint: Make sure each accessory is parented to the right body part and that attachment names match Roblox’s naming rules before you export.
Step 4: Keep Polycount and Topology Roblox-Friendly
Roblox sets a 20,000-triangle cap per mesh. If you go over that cap, your import fails. Messy topology, such as overlapping triangles or dense spikes, can also cause visual glitches and lower frame rate in your game.
Meshy offers AI re-texturing and remeshing tools that lower triangle counts so you stay within Roblox’s limits. Sloyd’s pre-rigged mannequins follow Roblox marketplace specs and stay inside polygon limits by default.
Nilo stands out with a real-time LOD, or level of detail, slider that simplifies mesh topology as you drag it. You move the slider and watch the triangle count drop until you sit safely under the cap. You avoid manual cleanup and do not need Blender.

Checkpoint: Before you export, check the stats panel in your tool. Aim for under 20,000 triangles for the full character mesh.
Step 5: Export and Test Your Avatar in Roblox Studio
Roblox Studio accepts FBX and GLB or glTF for most imports. For a complete avatar where textures and attachments stay bundled, .rbxmx gives you the cleanest experience.
Here is a simple export flow in Nilo:
- Open your character in Nilo’s workbench.
- Confirm the triangle count stays under the limit using the LOD slider.
- Click Export and choose .rbxmx to include textures and attachments with no subscription, or choose .fbx if you prefer that format.
- Optionally connect your Roblox account with an API key so Nilo can send the file straight into your Roblox experience.
If you use Meshy, you can export as GLB, which includes textures, or as FBX, then import into Roblox Studio. Sloyd exports GLB files that Studio reads directly, plus FBX and OBJ.
Checkpoint: Confirm that textures are embedded in your export file. Missing textures cause many “gray avatar” errors in Roblox Studio.
After export, open Roblox Studio and import your file through Asset Manager or the Avatar Setup tool. For full R15 bodies, Avatar Auto Setup rigs and segments the mesh. For accessories, use the Accessory Fitting Tool under the Avatar menu so Studio creates correctly named attachments for you.
Run a quick playtest and check that the avatar loads without errors, animations look natural, accessories sit in the right spots, and frame rate feels stable. If you exported directly from Nilo with an API key, the asset appears in your Roblox experience automatically, so you skip manual import.
Start creating your custom avatar in Nilo’s open beta, no downloads needed.
Workflow Framework: Match Your Tools to Your Project
Different projects need different workflows, so you should match your tools to what you are building.
Quick UGC accessories such as hair, hats, and weapons need fast generation, clean geometry, and a simple export. You can rank tools by how quickly they move from prompt to Roblox-ready file without any Blender cleanup.
Full character skins need original geometry, automatic retopology, one-click rigging for humanoids in a T-pose, and a format that keeps textures on import. You can rank tools by whether they handle the full pipeline, from generation through export, in one place.
Nilo covers both use cases in this integrated workflow. The generation, retopology, and rigging features mentioned earlier combine with Idea Forge refinement, LOD optimization, accessory attachment, and .rbxmx export in a single browser tab. This integrated workflow is what builders in Nilo’s February 2026 survey highlighted when they said, “I do not have to spend hours on 3D modeling the simplest things. Now I can use Nilo and do it in 15 seconds.”

Meshy and Sloyd also fit specific needs. Meshy focuses on fully custom geometry from photos. Sloyd focuses on pre-rigged mannequin bases when you mainly want to control textures. With both tools, you still finish full R15 body rigging inside Roblox Studio after export.
Common Challenges and Practical Fixes
Messy AI output
You might see a mesh that looks melted, asymmetrical, or full of spikes. The AI model likely struggled with your prompt or produced a dense mesh with poor topology. Try a more specific prompt, switch to a different AI model provider, or use Nilo’s Idea Forge to iterate on the same idea with follow-up prompts instead of starting from scratch.
Polycount violations
Roblox Studio may throw an import error or fail validation when triangle count goes over the cap from Step 4. Use the LOD slider in Nilo to lower triangles in real time, or use Meshy’s remeshing tool before you export.
Missing textures on import
If your avatar appears gray or white in Studio, textures likely were not embedded in the export file. Export as .rbxmx, which bundles textures automatically, or as GLB instead of FBX, since GLB embeds texture data by default.
Export errors or pivot issues
Floating accessories or clipping wings usually mean attachment names do not match Roblox’s naming rules or the model’s origin was off-center at export. Check that attachment names match exactly, including case, and confirm the model sits at the world origin before you export.
Measuring Success Checklist
- Creation time dropped from hours to minutes per asset.
- Your avatar imports into Roblox Studio without errors on the first try.
- In-game frame rate stays stable during playtests.
- Accessories sit in the right spots with no floating or clipping.
- You need fewer revision cycles between generation and final export.
- You stay in one browser tab for the whole workflow.
Advanced Tips for Reuse, Collabs, and Other Engines
Reusing assets across projects: After you build a character in Nilo, you can clone the world and remix it for a new project. The Builder Bag feature saves your favorite creations so you can drag them into any future build without regenerating them.
Real-time collaboration: When you share a Nilo world link, a friend can join and build with you on desktop or mobile. This helps when one of you focuses on character design while another builds props or environments.
Adapting outputs for Unity or Unreal: Nilo exports standard formats such as FBX, OBJ, STL, and glTF that work with Unity, Unreal Engine, Blender, and VRChat. If you build across several platforms, you can treat Nilo as your asset creation pipeline and send the same rigged character to any engine. Nilo does not lock you in, and builders already export rigged and animated models to other platforms.
Frequently Asked Questions
How long does it take to create a custom Roblox avatar online?
With an AI-powered browser tool, generating a base avatar usually takes seconds to a few minutes, depending on your prompt. Adding accessories, managing polycount, and exporting adds a few more minutes. Once you know the steps, you can often go from blank canvas to Roblox-ready file in under 15 minutes. Builders using Nilo have reported generating and placing a fully rigged 3D model in under 15 seconds for simple assets.
Do I need any design or coding skills?
You do not need coding skills for avatar creation. Basic design instincts help, such as having a clear idea of how you want your character to look. You still do not need to know modeling, rigging, or scripting. You describe what you want in plain language or upload a sketch or reference image, and the AI handles the technical work. Nilo is built so that if you can describe your vision, you can build it.
Is there a free option for creating Roblox avatars online?
Yes. Roblox’s Avatar Editor and Catalog Avatar Creator are free. For AI-generated custom avatars, Nilo’s open beta is free to join and includes 1,000 Nilo Bits per month, which power AI generation, export, and creation. Many core building features in Nilo do not use Bits at all. Meshy also offers a free tier, though assets from that tier use a CC BY 4.0 license and need attribution. Sloyd’s Roblox avatar feature needs a paid subscription, with a free trial available.
What file format should I export for Roblox?
For the smoothest import, use .rbxmx, Roblox’s native format, which bundles textures and attachments into one file with no subscription. If you want compatibility with other tools first, GLB works well because it embeds texture data by default. FBX also works but needs separate texture management, which often causes gray avatars. Nilo supports all these formats plus OBJ, STL, and glTF.
Can I sell avatars or accessories I create online on the Roblox Marketplace?
Yes. Any models, skins, or UGC items you create in Nilo belong to you to use, publish, and monetize on the Roblox Marketplace. Roblox’s creator economy pays out over $1 billion annually and grows over 30% year over year, so demand for strong custom avatar items is real. Make sure your assets follow Roblox’s UGC submission rules, including polygon and texture size limits, before you submit.
Ready to build? Join Nilo’s open beta and start creating for free.
Conclusion
You can create a custom Roblox avatar online without Blender, a high-end PC, or months of practice. The five-step workflow of choosing your method, generating a base mesh, adding accessories, keeping your polycount under the triangle cap from Step 4, and exporting in a Roblox-friendly format now lives fully in your browser.
Roblox users made 274 million avatar updates per day in 2025, and 56% of Gen Z respondents say styling their avatar matters more than styling themselves in the physical world. Demand for original, expressive avatars keeps growing, and you can meet that demand without a pro setup.
Nilo stands out if you want the full pipeline in one place. You get AI generation, real-time retopology, one-click rigging for humanoids, accessory attachment, and direct .rbxmx export, all inside a single browser tab. As one builder said in Nilo’s February 2026 survey, “There are no limits on what you can create — just type, draw or add in an image and you can generate, rig, customise and place a fully 3D model within minutes.”
Try the full workflow yourself and join Nilo’s open beta today.