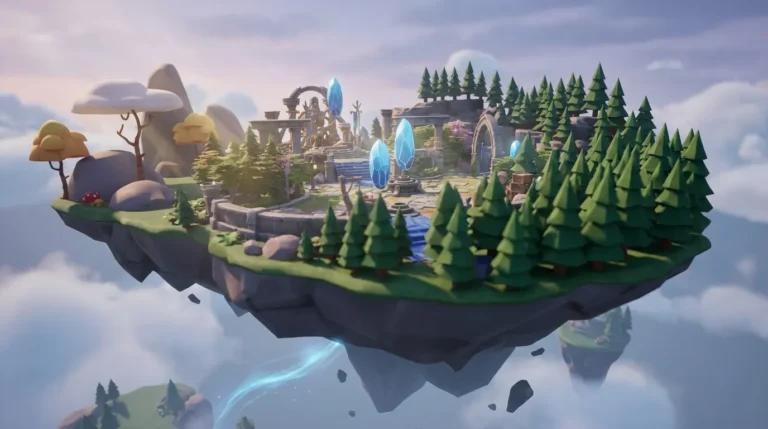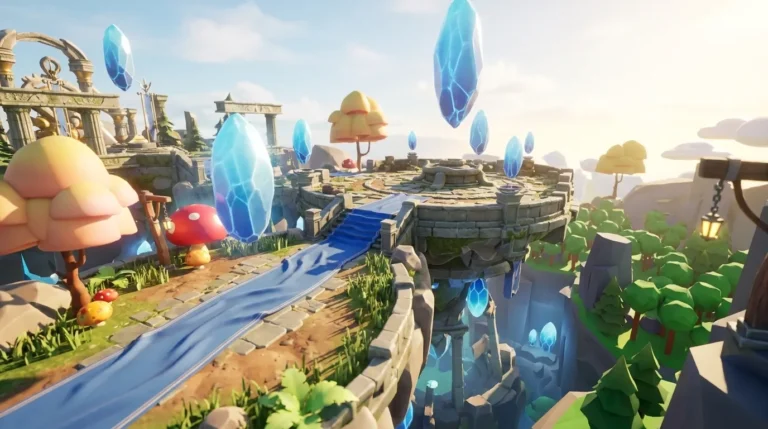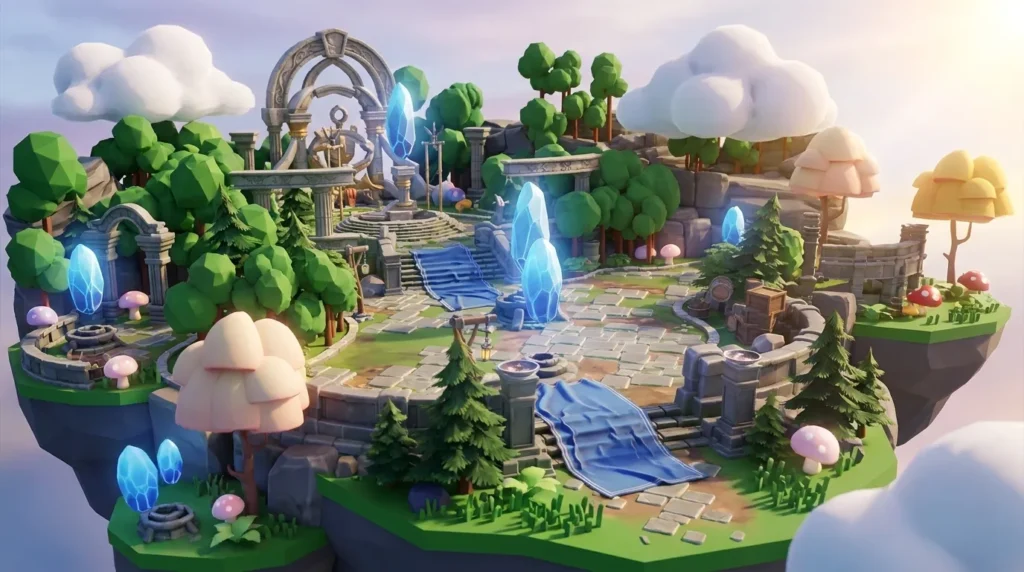
Written by: Nuno Leiria, Founder & CEO @ Nilo
Key Takeaways
- Traditional Roblox building hits limits with basic primitives, so you either grind with Union/Negate or spend months learning Blender.
- Nilo is a browser-based AI platform that lets you describe or sketch custom parts and quickly get Roblox-ready 3D models without extra software.
- The 5-step workflow walks you through ideating your part, generating it in Nilo, tuning polygon count with the LOD slider, optional rigging or animation, and exporting straight to Roblox Studio.
- Compared with Union operations, manual Blender modeling, or standalone AI tools, Nilo gives you Roblox-ready topology from the start and keeps everything in one browser tab.
- Skip the grind and start creating custom Roblox parts in minutes with Nilo’s text-to-3D workflow at try Nilo’s text-to-3D workflow free.
Who This Roblox Parts Guide Is For
You already know your way around Roblox Studio and you have used Parts and basic Unions. You now want more complex custom shapes without diving into a full 3D modeling course.
Before you start, get comfortable with a few terms you will see a lot:
- Mesh: A 3D object made of triangles, also called polygons or tris. More triangles mean more detail but also heavier files.
- MeshPart: Roblox’s object type for importing custom 3D meshes into Studio. It replaces SpecialMesh and supports textures, collisions, and physics.
- Retopology: The manual process of rebuilding a mesh’s triangles so it is clean, efficient, and game-ready. This step usually sends you into Blender for 30 minutes or more per asset.
- LOD (Level of Detail): A system that reduces polygon count on objects far from the camera, which keeps performance smooth while close-up models stay sharp.
- Export formats: Roblox Studio accepts .FBX, .OBJ, and .GLB files. FBX works best for rigged or animated models, OBJ fits simple static props, and GLB bundles textures into one file.
Roblox’s 3D Importer caps individual meshes at approximately 21,000 triangles. Textures must be PNG, JPG, TGA, or BMP at a maximum resolution of 4096×4096 pixels. Staying inside these limits keeps your imports clean and predictable.
With these technical boundaries in mind, you can now follow a simple workflow that creates custom parts that match Roblox’s requirements from the start.

5-Step Workflow: Create Custom Roblox Parts in Minutes
- Ideate your part. Start with a clear text description of what you want, such as “low-poly wooden crate with metal corners,” “sci-fi door panel with beveled edges,” or “cartoon mushroom prop.” Specific prompts give you better first results. You can also sketch directly in Nilo’s 2D sketch tool and let the AI turn your drawing into 3D.
- Generate in Nilo. Open Nilo in your browser at play.nilo.io and enter your text prompt or upload your sketch. Nilo’s model-agnostic AI layer, which uses providers including Meshy, Tripo, and others, generates a 3D model in seconds. If the first result feels off, tweak the prompt and regenerate instead of rebuilding from zero.
- Refine with the LOD slider. Use Nilo’s Level of Detail slider to bring your polygon count under Roblox’s import cap. Drag the slider down until your mesh sits comfortably below the limit. Nilo keeps the topology clean for you, so you avoid manual retopology.
- Rig or animate if needed. When your part needs movement, such as characters, accessories, or doors, use Nilo’s one-click rig and then add animations by typing what you want, like “idle breathing,” “sword swing,” or “door opening.” Nilo exports fully rigged and animated models that work cleanly in Roblox.
- Export to Roblox Studio. Click Export, choose your format, then bring the file into Roblox Studio. Use FBX for rigged models and OBJ or GLB for static props. After import, check orientation, scale, and textures in the Properties panel, then you are ready to place the part in your game.
Comparing Roblox Part Creation Workflows
You can create custom Roblox parts in several ways, and each one feels different while you build.
| Method | Time to First Asset | Roblox Optimization | Requires External Tools? |
|---|---|---|---|
| Solid Modeling (Union/Negate in Studio) | Minutes to hours | Unions re-triangulate at runtime, higher draw calls | No |
| Manual Blender Modeling | Hours (hard difficulty) | High accuracy, manual retopology required | Yes, Blender plus FBX export |
| AI Tools (for example, Meshy standalone) | Seconds to minutes | Manual cleanup often needed before import | Yes, Blender for retopology |
| Nilo (text or sketch to 3D) | Seconds to minutes | Automatic LOD, Roblox-ready topology from the start | No, browser-based with one-click export |
The Union and Negate workflow inside Roblox Studio has almost no setup. You stay inside Studio and avoid file transfers, which feels great for quick prototypes and simple shapes like arches or window cutouts. As your game grows, MeshParts usually perform better than CSG Unions because Unions re-triangulate geometry while the game runs.
Manual Blender modeling gives you pixel-level control over topology, UVs, and polygon counts. You pay for that control with a steep learning curve and a slower creative loop, especially if you mainly want to design cool objects instead of fixing mesh issues.
Standalone AI tools such as Meshy speed up generation, but you often still need Blender to clean up geometry before Roblox accepts the mesh. You end up in a chain of generate, then fix in Blender, then import into Studio.
Nilo’s text and sketch to 3D pipeline collapses that chain into one tab. You ideate, generate, refine, test, and export in the same place while the LOD system keeps your meshes within Roblox’s limits. In Nilo’s February 2026 Survey, one builder said, “I do not have to spend hours on 3D modeling the simplest things, now I can use Nilo and do it in 15 seconds.”
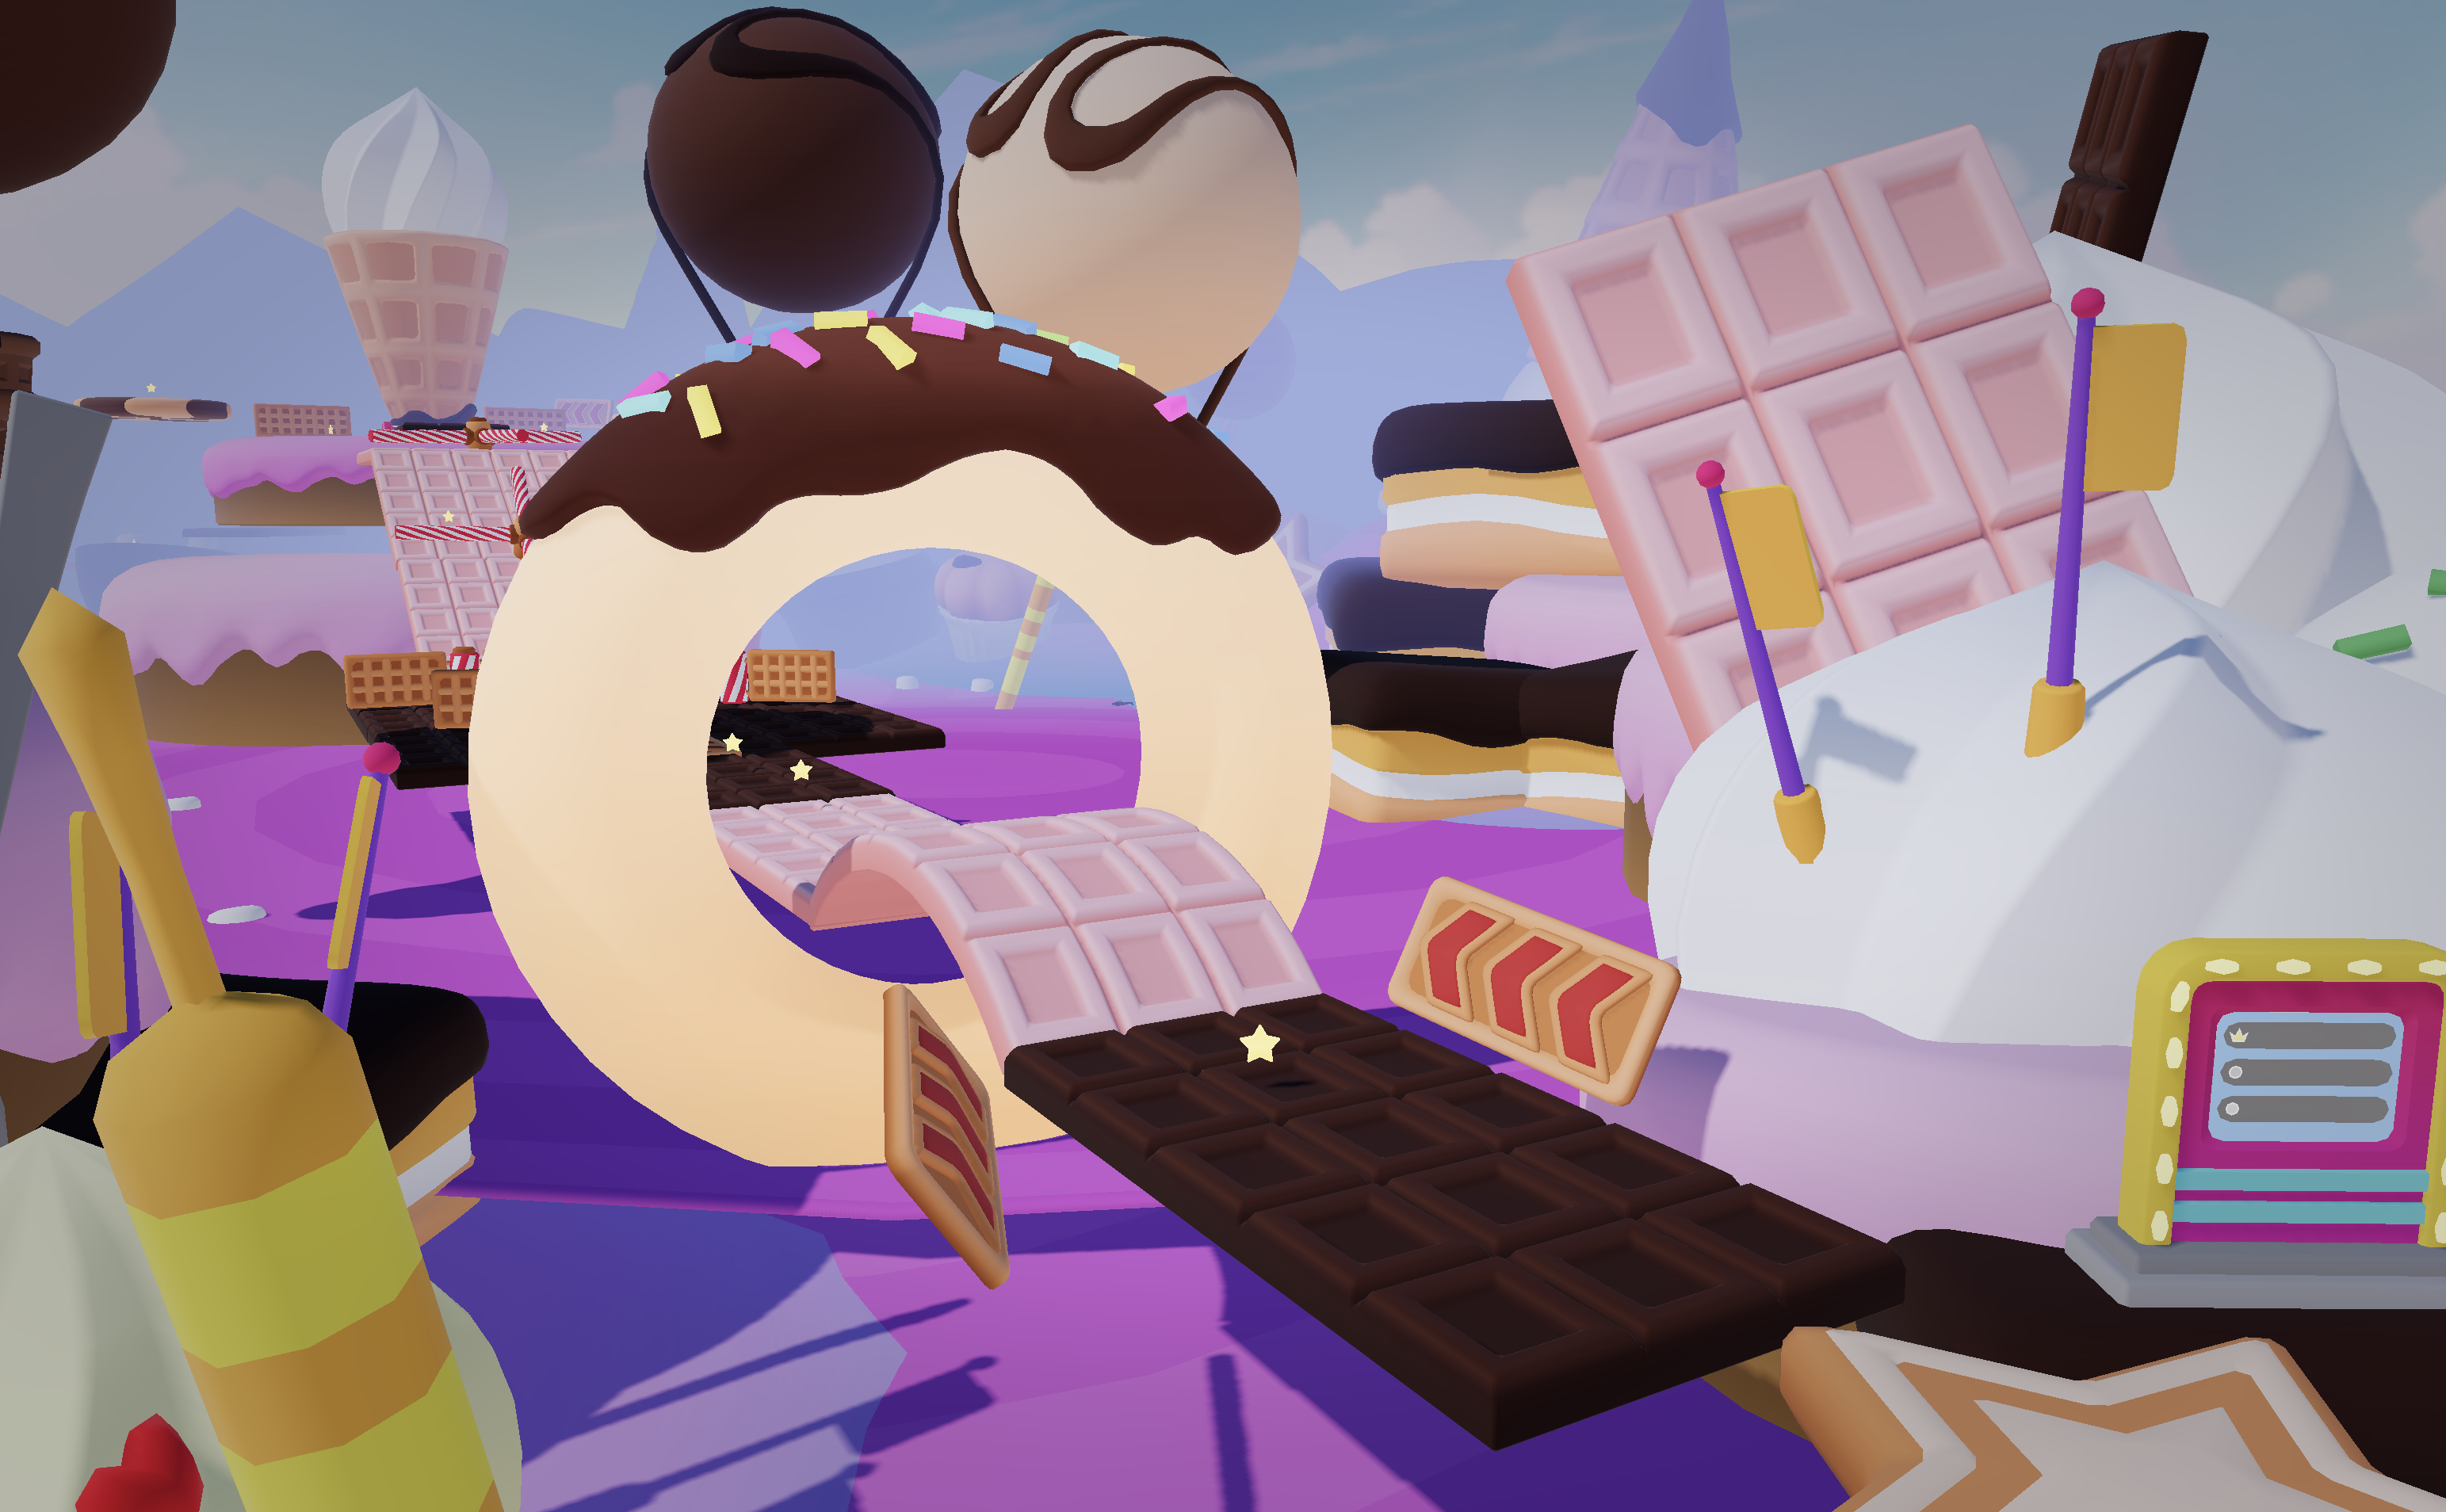
Want to see how this browser-based pipeline feels next to your current setup? Start building in Nilo’s open beta.
Common Roblox Import Issues and Fixes
Once you start generating and exporting custom parts, you will probably hit a few common problems. You can spot and fix them quickly when you know what to look for.
Poor topology or “melted” geometry. AI-generated models sometimes create asymmetric shapes or strange geometry, especially on complex organic forms. The mesh may look fine in the generator but deform oddly after import. When this happens, first refine your prompt with more specific geometry words such as “hard-edged,” “low-poly,” or “symmetrical.” If that still fails, switch AI model providers inside Nilo. The model-agnostic layer lets you try Meshy, Tripo, or others without leaving the tool, and different providers handle shapes differently.
Polycount warnings on import. Roblox’s 3D Importer automatically simplifies meshes that exceed the triangle limit instead of rejecting them. Studio usually shows a warning when this happens. To avoid surprises, pull Nilo’s LOD slider down before exporting and aim for lower triangle counts on props and characters.
Export errors or missing textures. Collision masks and colors sometimes drop during export. You might see a model that imports but looks untextured or collides in odd ways. Check that your export format matches the asset type, using FBX for rigged models and OBJ or GLB for static ones. Then verify your textures follow Roblox’s format and resolution rules. In Studio, adjust the TextureID in the Properties panel if something still looks off.
Vague prompts producing generic results. A short prompt like “Make a sword” usually gives you a very basic sword. A detailed prompt such as “Make a low-poly fantasy short sword with a curved crossguard and worn metal texture” gives you a much more usable asset. Prompt clarity has the biggest impact on output quality. In Nilo’s February 2026 survey, many builders mentioned that adding more detail to prompts quickly fixed early frustrations.
Rig components not applying correctly. Animated models can move in strange ways when bone transforms are not set up cleanly. You might see a character that moves but has stretched or twisted limbs. To fix this, freeze all bone transforms at scale 1,1,1 and rotation 0,0,0, with the root joint at the origin before export.
How to Tell If Your Workflow Is Working
A strong custom Roblox part workflow gives you clear, repeatable wins. Watch for these signs:
- Asset creation time drops from hours to minutes for each model.
- Exported meshes import into Roblox Studio without errors on the first try.
- Triangle counts stay under the import cap.
- Textures display correctly without extra tweaks in the Properties panel.
- Rigged models animate smoothly without strange deformations.
- In-game performance stays stable, with no FPS drops from high-poly imports or heavy Union use.
In Nilo’s February 2026 Survey, 82% of builders rated their experience as “Awesome” or “Good,” and 72% said Nilo makes their creative process easier “by a lot.” Those results match what a clean, Roblox-aware export pipeline feels like when you build every day.

Advanced Roblox Asset Tips With Nilo
Modular asset packs. Nilo’s Create Asset Packs feature lets you generate a full set of matching props from a single reference image. You can get walls, floors, props, and environment pieces that share one visual style. This approach is much faster than modeling each piece in Blender and helps your whole map feel consistent.
Material application. Each Roblox mesh accepts only one material, so multi-surface models need texture atlases and UV mapping inside a single UV set in 0–1 space. For PBR materials, Roblox Studio supports SurfaceAppearance objects. Add these after import to get more realistic surfaces without raising polygon counts.
Multi-platform reuse. Nilo exports to FBX, OBJ, STL, and glTF, so your assets can move into Unity, Unreal Engine, VRChat, and Blender. If you build for several platforms or want to polish a Nilo asset in Blender, the export pipeline supports that. Nilo does not lock you in, so you can start here and continue anywhere.
Performance at scale. Setting Model.LevelOfDetail = Automatic on a Roblox model is equivalent to Disabled and does not display any lower-resolution mesh. When you combine this behavior with Nilo’s pre-export LOD tuning, you get a two-layer safety net for large, complex builds.
Frequently Asked Questions
What is a MeshPart in Roblox and how do I create one?
A MeshPart is Roblox’s object type for custom 3D geometry and lets you bring non-primitive shapes into Studio. You create one by importing a 3D model file, such as FBX, OBJ, or GLB, through Studio’s 3D Importer. The importer converts your file into a MeshPart that supports textures, collisions, and physics. Nilo generates these files directly, so you skip manual modeling. You generate the asset, export the file, and then import it into Studio.
Do I need Blender to create custom Roblox building parts?
You do not need to learn Blender to create most custom parts. The traditional path uses Blender for modeling complex shapes and doing retopology before export. Nilo’s browser-based AI generation handles both steps for you. You describe or sketch what you want, adjust the LOD slider, and export a Roblox-ready file without opening Blender. Blender still helps if you already know it and want deep manual control, but it is no longer a required step.
What file format should I use when exporting custom assets to Roblox?
Use FBX for rigged or animated models because it carries bones, materials, and rig data. Use OBJ for simple static props when you do not need texture bundling. Use GLB when you want textures packed into one file for easier sharing. Roblox Studio’s 3D Importer accepts all three formats. Nilo supports all of them, so you can pick the one that fits your asset.
How does AI Roblox asset generation actually work?
AI asset generation lets you describe a 3D object in plain language or upload a sketch or reference image, then receive a complete 3D mesh in seconds. The AI reads your description, builds geometry, applies textures, and outputs a file ready for your game. Nilo’s model-agnostic setup uses several AI providers, including Meshy and Tripo, behind one interface. You get strong results without juggling tools. Nilo also handles optimization, since the LOD system keeps polygon counts inside Roblox’s limits before you export.
Why do my Roblox imports sometimes fail or look wrong after import?
The most common causes include triangle counts above approximately 21,000, textures larger than 4096×4096 pixels, incorrect scale, or bone transforms that were not frozen on rigged models. Roblox uses 1 stud as roughly 0.28 meters, so scale mismatches can look strange. Before exporting, check triangle counts, verify texture dimensions, and confirm that bones sit at scale 1,1,1 and rotation 0,0,0. Nilo’s export pipeline follows Roblox’s rules closely, which cuts down these errors compared with manual Blender exports.
Conclusion: Faster Paths to Custom Roblox Parts
Creating custom Roblox building parts can feel smooth and fast instead of slow and technical. The 5-step workflow of ideate, generate in Nilo, refine with the LOD slider, rig if needed, and export gets you from idea to Roblox-ready MeshPart in minutes, all inside your browser.
Tools for Roblox creators keep evolving. Roblox now offers AI-powered asset generation inside Studio, and standalone tools like Meshy help with quick concepts but often send you back into Blender for cleanup. Nilo stands out by handling generation, optimization, rigging, animation, and export in one place, so your creative flow stays focused on the game you are building.
Whether you are putting together a modular prop pack, a custom character, or a detailed environment piece, a clean export pipeline gives you the fastest route from imagination to Roblox Studio. This workflow helps you reach that point without spending a bunch of time or money on extra software.
Ready to collapse your generate, fix, and export chain into one browser tab? Join Nilo’s open beta and create your first custom part.